Our Family
Meet Our Doctors
Patient Testimonials
Photo Gallery
Our Services
Preventative Treatment
Restorative Treatment
Cosmetic Treatment
Sedation
Your Visit
Your First Visit
Patient Registration Forms
Contact Us
Our Family
Meet Our Doctors
Patient Testimonials
Photo Gallery
Our Services
Preventative Treatment
Restorative Treatment
Cosmetic Treatment
Sedation
Your Visit
Your First Visit
Patient Registration Forms
Contact Us
PATIENT LOGIN
Menu
Facebook
504-272-0870
2212 Paris Rd., Chalmette, LA 70043
Wightman Family Dental
Our Family
Meet Our Doctors
Patient Testimonials
Photo Gallery
Our Services
Preventative Treatment
Restorative Treatment
Cosmetic Treatment
Sedation
Your Visit
Your First Visit
Patient Registration Forms
Contact Us
Our Family
Meet Our Doctors
Patient Testimonials
Photo Gallery
Our Services
Preventative Treatment
Restorative Treatment
Cosmetic Treatment
Sedation
Your Visit
Your First Visit
Patient Registration Forms
Contact Us
PATIENT LOGIN
Photo Gallery
Wightman Family Dental
/
Our Family
/
Photo Gallery
Photo Gallery
Photo Gallery
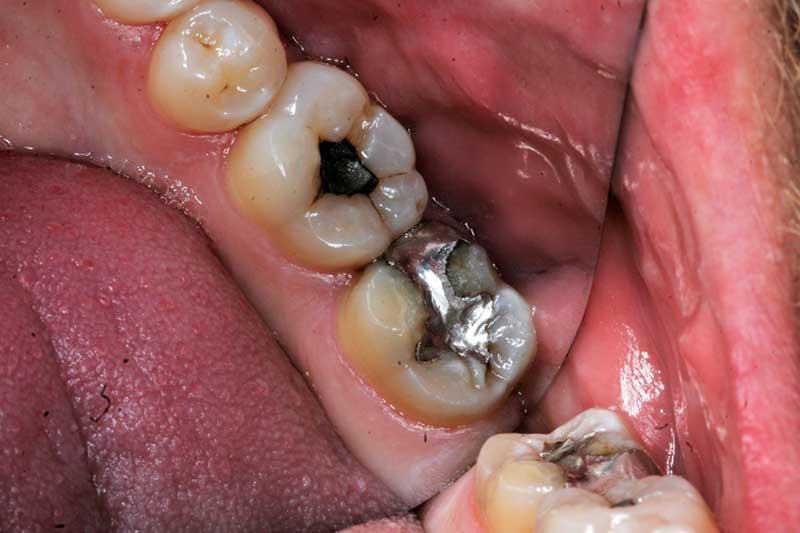
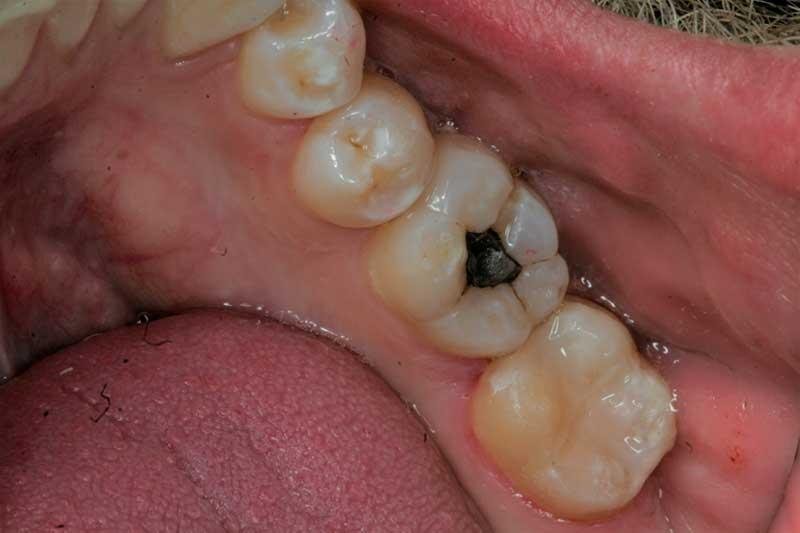
Before and After
Photo Gallery
Before and After
Before and After